Unclogging the A/C Evaporator Drains
D3 Audi A8 (2004-2009 model years)
By Paul Waterloo & Byron Pendelton
General
The evaporator is the A/C heat exchanger in the passenger compartment that the HVAC blower motor blows air over to cool and dehumidify the cabin (it's a direct expansion [DX] coil). While dehumidifying, water condenses off the coil and drains to a condensate catch pan below. This pan has two drains (left and right) which are connected through drain lines that drain outside the car though connection tubing. This is the water that you see under the car while the A/C is running.
Symptoms of Clogged Evaporator Drains
The drain lines that carry the water from the drain pan to outside the car can get clogged and fill up with water. Once they fill up, the drain pan fills up.
After the drain pan collects water and a corner is taken while driving, the water spills out of the drain pan on the left or right side. This causes the carpet to get soaking wet or have water literally fall on passengers in the car.
Tools Required
Small Flat Head Screwdriver
Small Needle Nose Pliers or Leatherman Tool
Shop Vac with an auto detailing attachment
(2) metal hose clamp to replace constant force clamp (optional)
Approximate Time to Clean Drains: 45 Minutes
Cleaning out the Clogged Evaporator Drains
Cleaning out the clogged drains is easy. It requires pulling back the carpet on both sides of the console side panels and cleaning the connection tubes.
There is a drain on the left and right side. For both sides, carefully pull back the carpet to expose the drain tube connections, see images below.
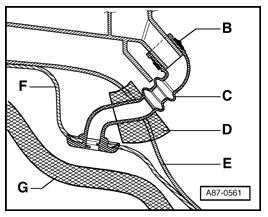
Cross sectional view of the evaporator drain system. Item C is the connection tube, item B is the connection clamp, these will be removed and cleaned out along with the supply tube above it. It drains through item F, which is the body shell and then drains down on either side of the transmission onto the ground.
Driver's side connection tube. Carefully pull the carpet back to expose tube. Unclamp metal clamp and pull tube.
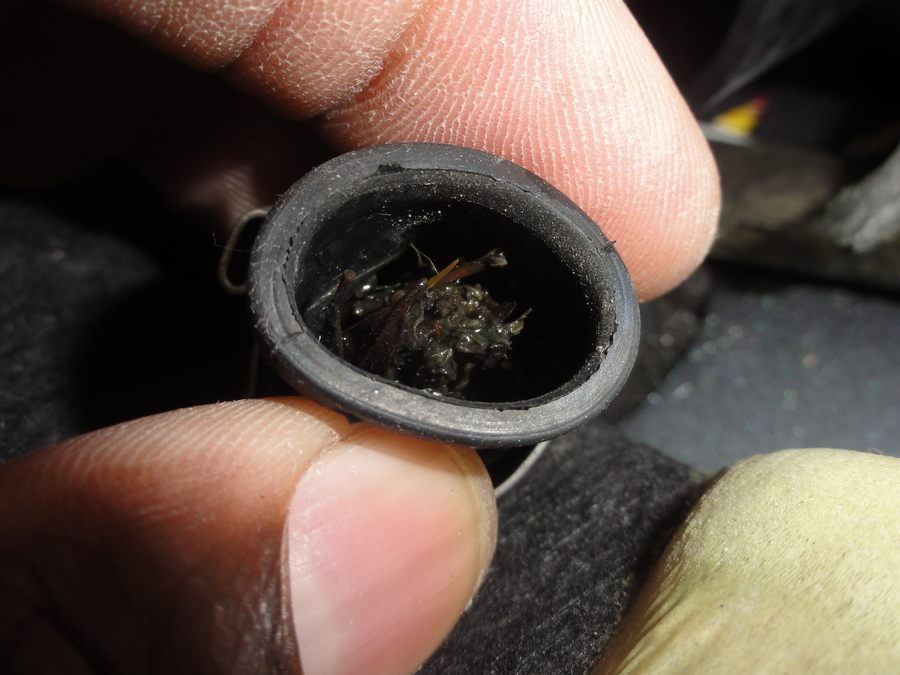
Material as seen from tubing leading from evaporator drip tray. Using a shop vac, clean this out with a shop vac with detailing attachment.
Material in connection tube, clean this material out with a shop vac with detailing attachment.
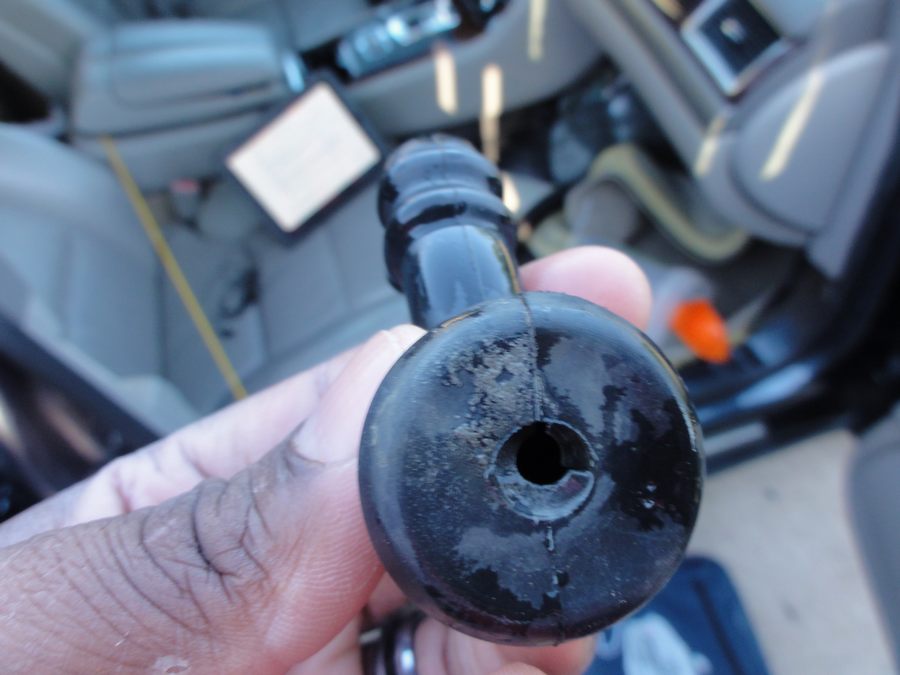
NOTE: You most likely DO NOT HAVE TO COMPLETELY REMOVE THIS TUBE from its installed position. Just use a shop vac to clean it out once the inlet side is disconnected due to the small outlet hole size. This image is the outlet of the tube. Due to the small size of the outlet, material will not pass through it, therefore a shop vac should get everything out.
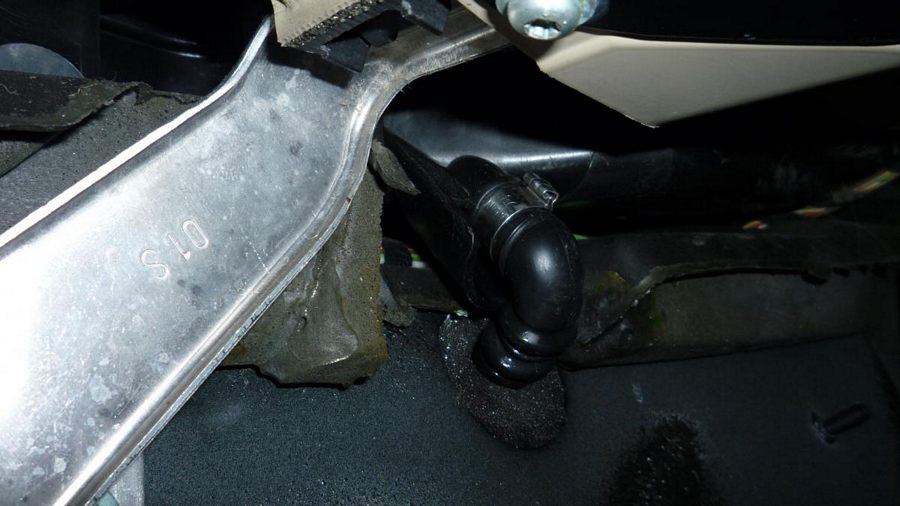
Passenger's side connection tube. Carefully pull the carpet back to expose tube. It is forward of the metal support in the above image, no need to remove the glove compartment.
Close up of passenger side tube.
When complete, re-clamp the metal clamp and put the carpet back in place. It would probably be easier to change the metal clamp to a simple hose clamp as the OEM clamp is difficult to get back together. If you had water leak into the passenger compartment, you might consider removing the carpet and leaving everything to dry out for overnight or longer, as required.