'00-'03 (facelift) A8
Clear Corner Marker Modification
By Paul Waterloo
If you'd like to change your facelift A8/S8 to more of a European look, you can remove the orange reflector in existing housing. I believe this is the way the Euro headlight assemblies came. Thanks to Jim - 03S8 for additional pictures in the procedure (and pictures of his car above).
Tools and Supplies Required
Heat Gun
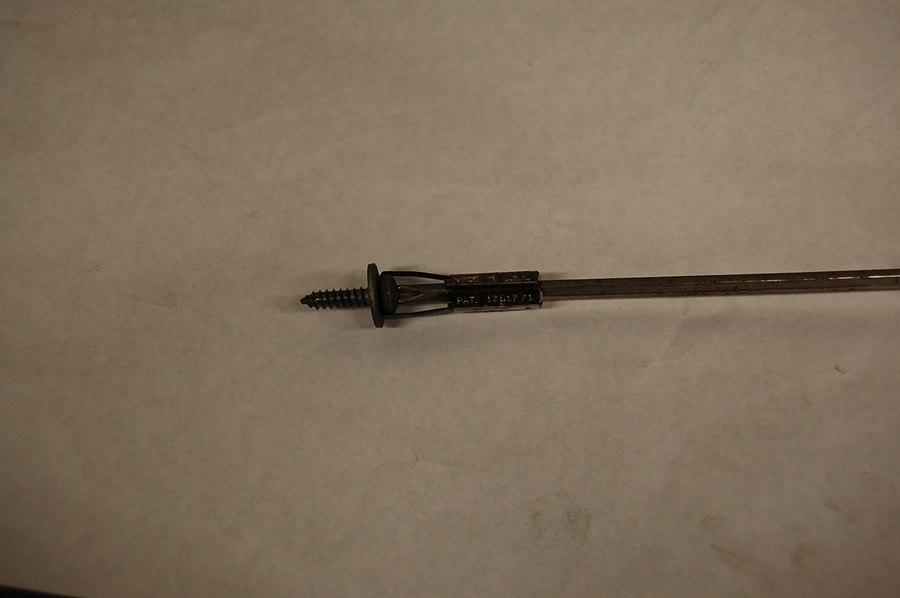
Phillips Head Screwdriver with Capture Device
Torx T25 Driver
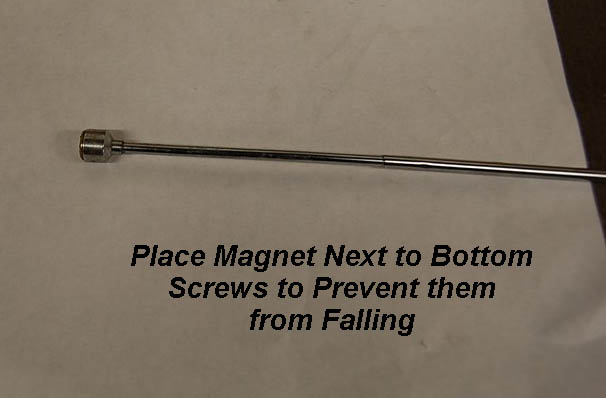
Magnet on a Stick
Trim Removal Tool or
Plastic Tire Irons for Bicycle Tire Removal
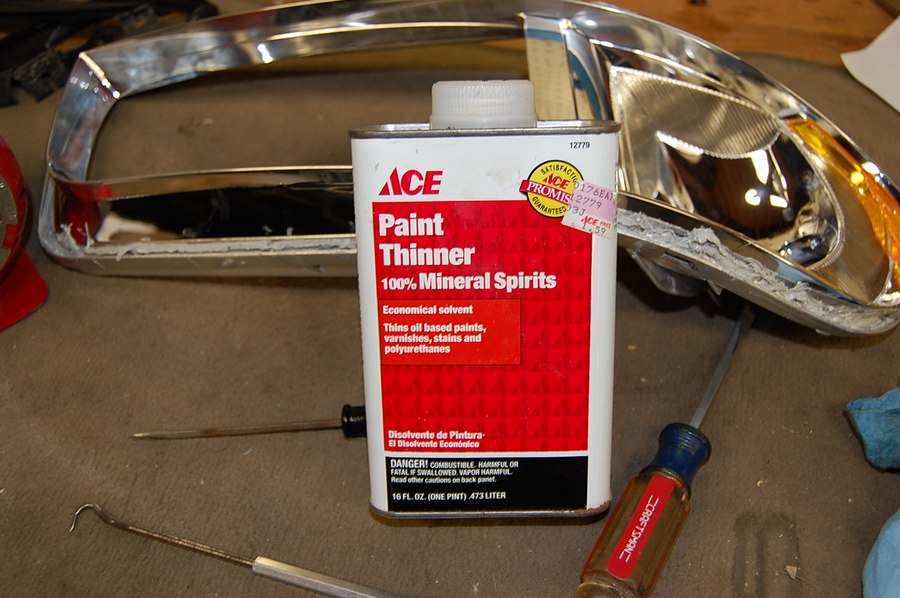
Solvent
Microfiber Cloth
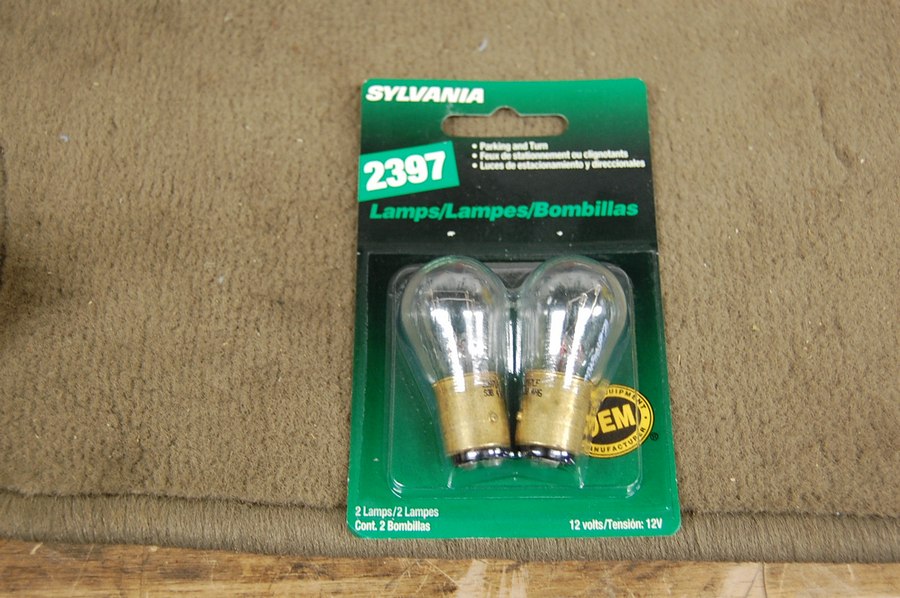
Set of 2397 Clear Bulbs
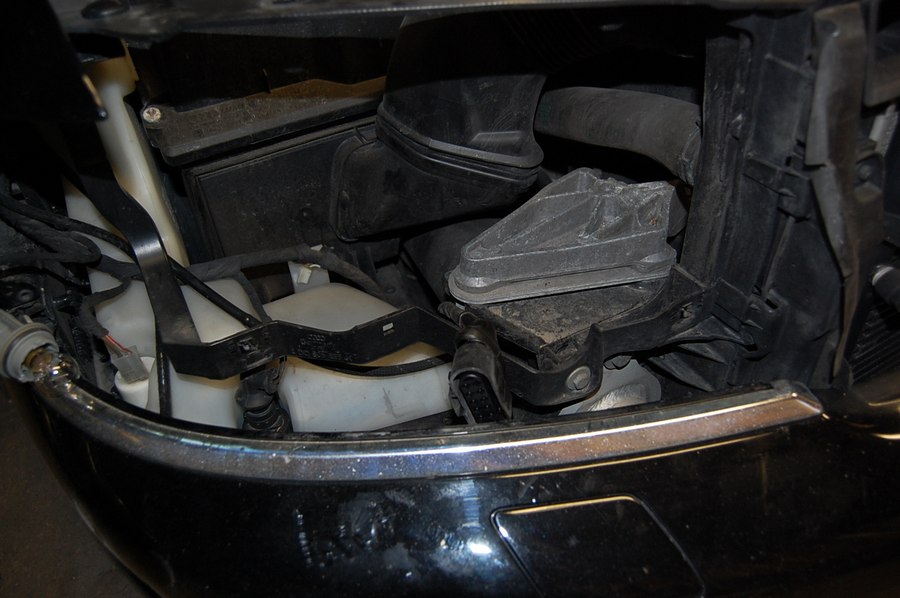
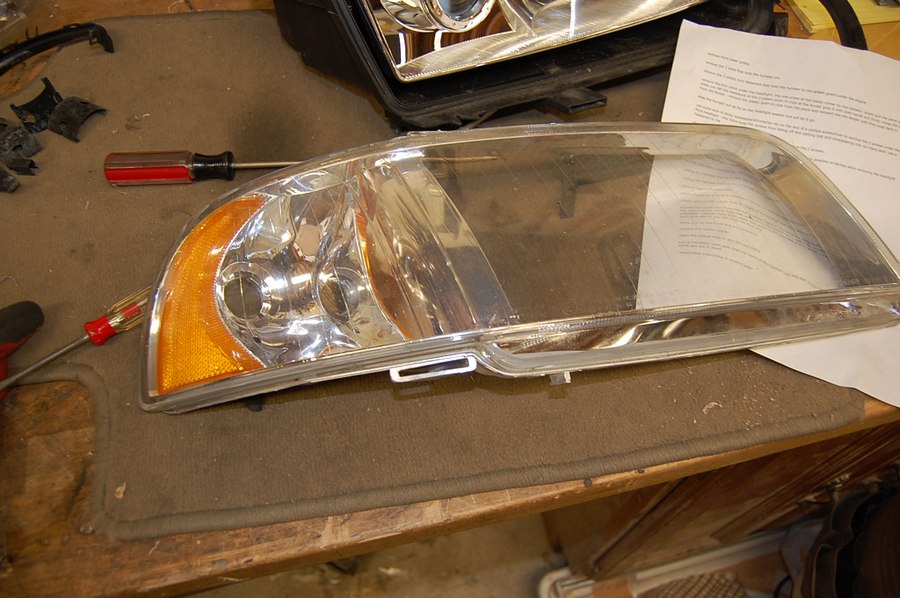
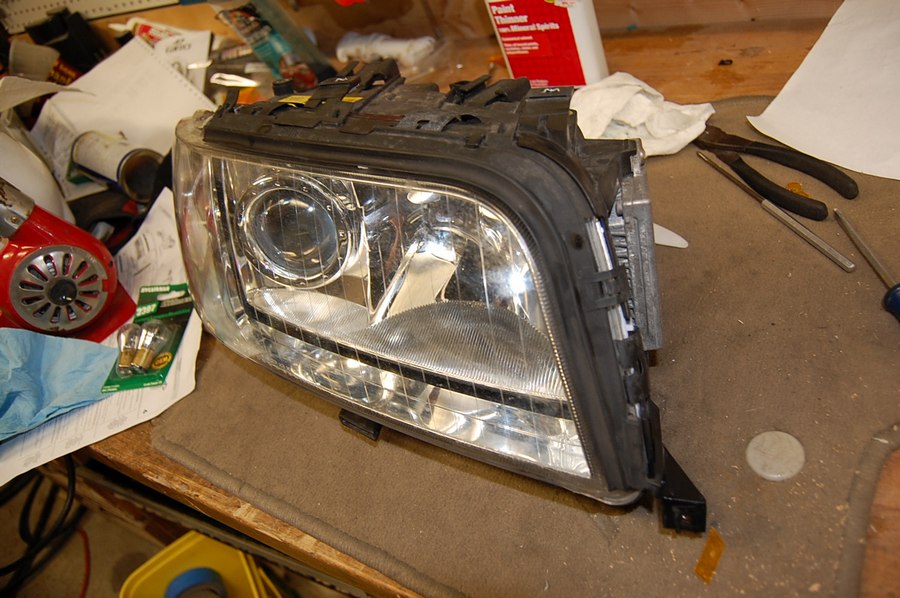
Remove the head light by the following procedure:
Remove T25 screw on inboard side of trim, remove trim by pulling gently and remove outboard side.
Remove four screws holding the headlight in place, using a Phillips screwdriver. Remove the bottom two first (located below the headlight, behind the trim just removed), use the magnet on a stick to capture the bottom screws when removing them so they don't fall into the belly pan area. Remove top two screws.
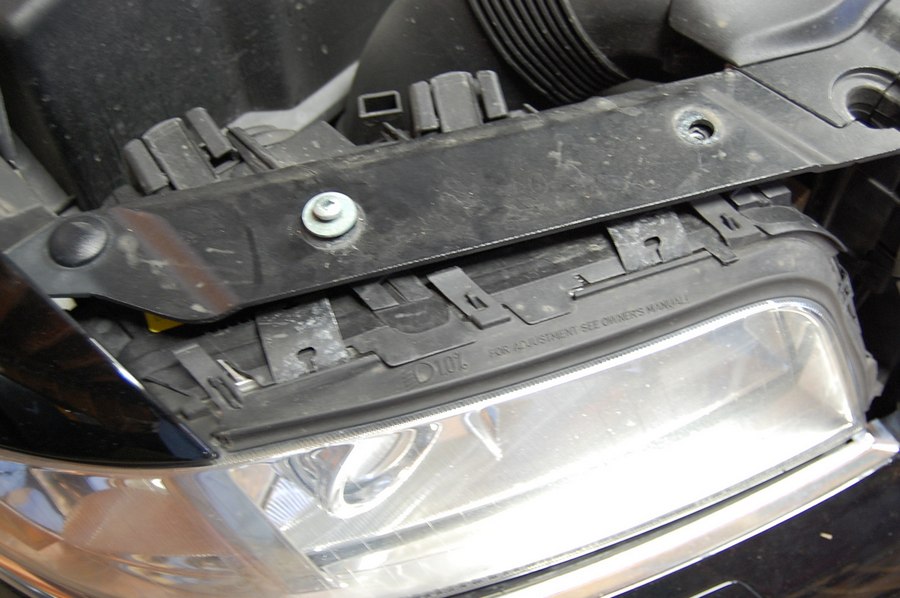
Notice where two bottom screws go into bracket shown above.
Pop the covers off the two large Phillips head screws and remove. Right screw already removed.
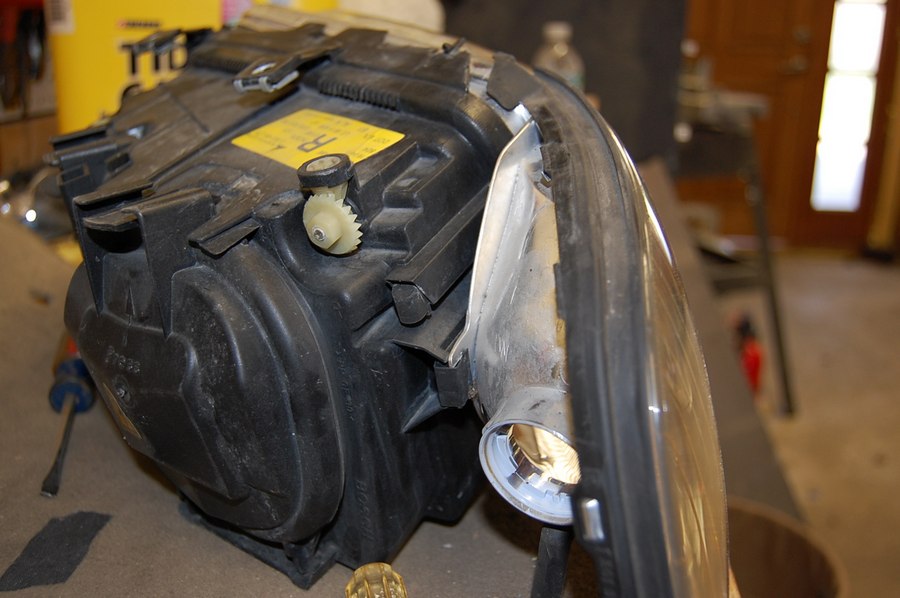
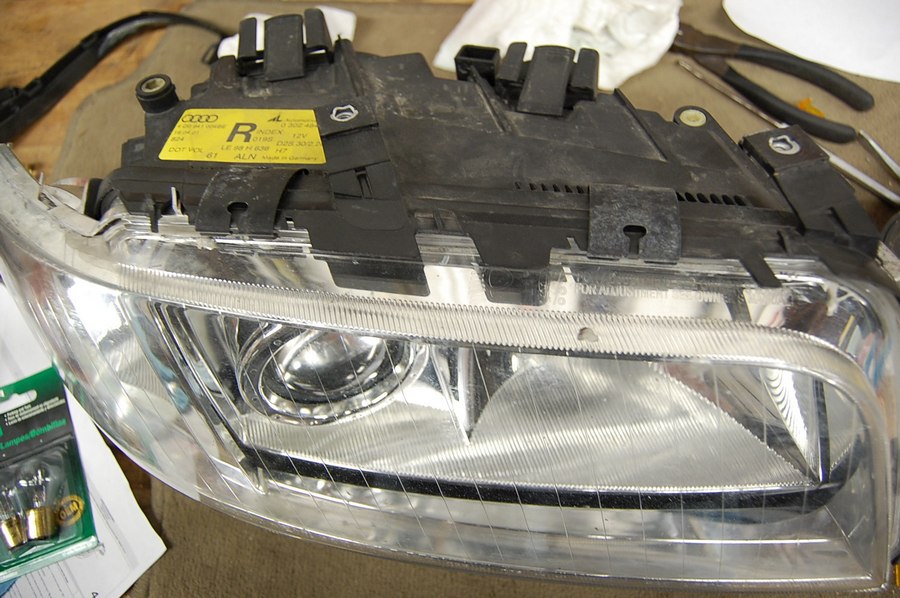
Pull the headlight assembly forward, remove the corner light by turning it 1/4 turn and then pull the assembly out (careful of the vents on the bottom, get them to clear the trim), turn the light over, and disconnect electrical components.
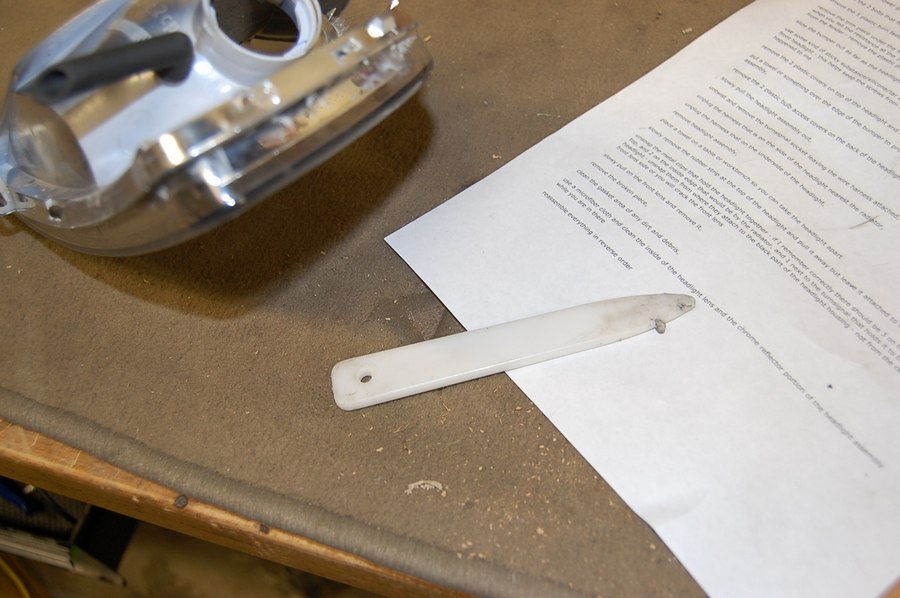
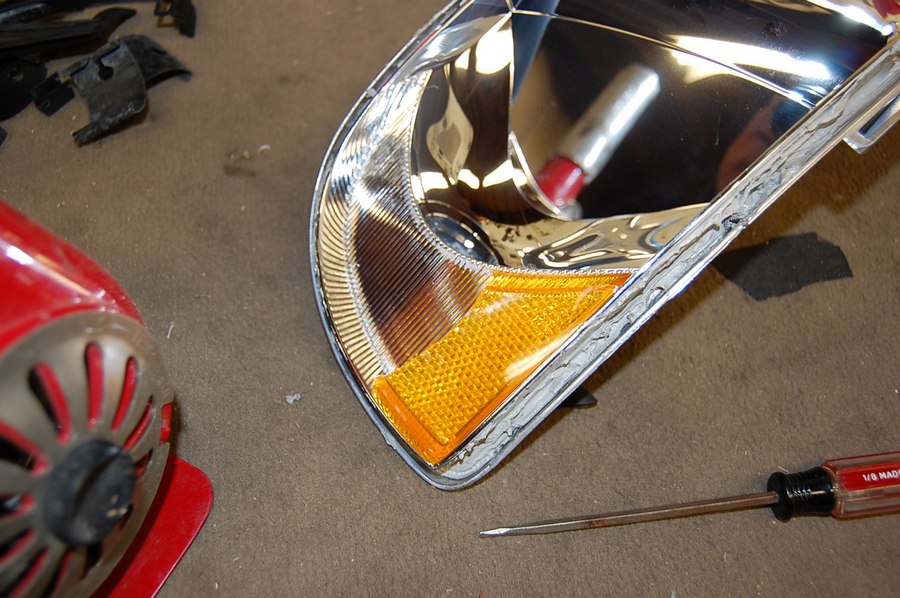
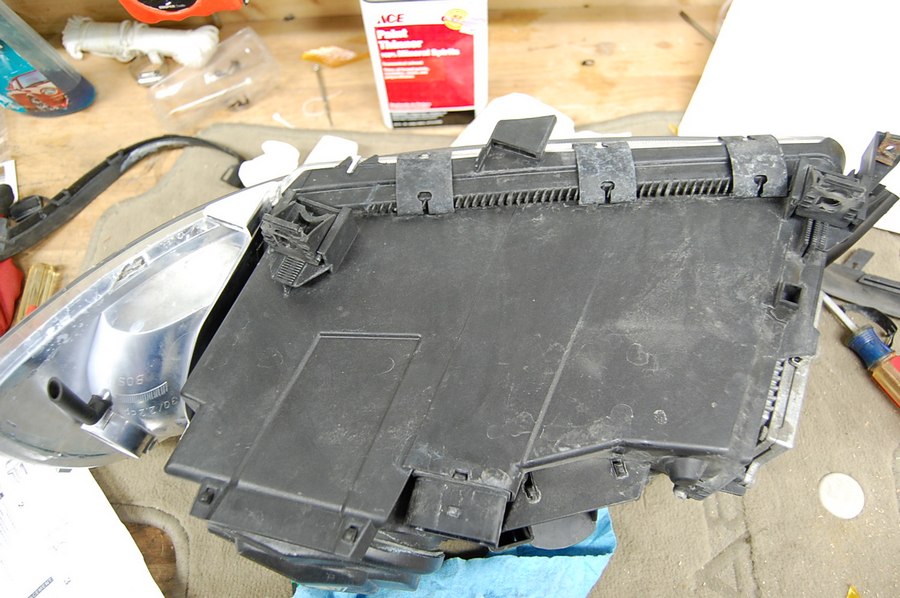
Once the assembly is on your work bench, you'll have to take the lens assembly off, then separate the lens assembly to get to the reflector. Remove the rubber strip on the top of the assembly. Remove all the clips on the assembly, there are three on the bottom, two on the inboard side, two on the top and one on the outboard side.
Notice the small clip just inboard of the corner marker bulb hole. Remove this clip along with all others.
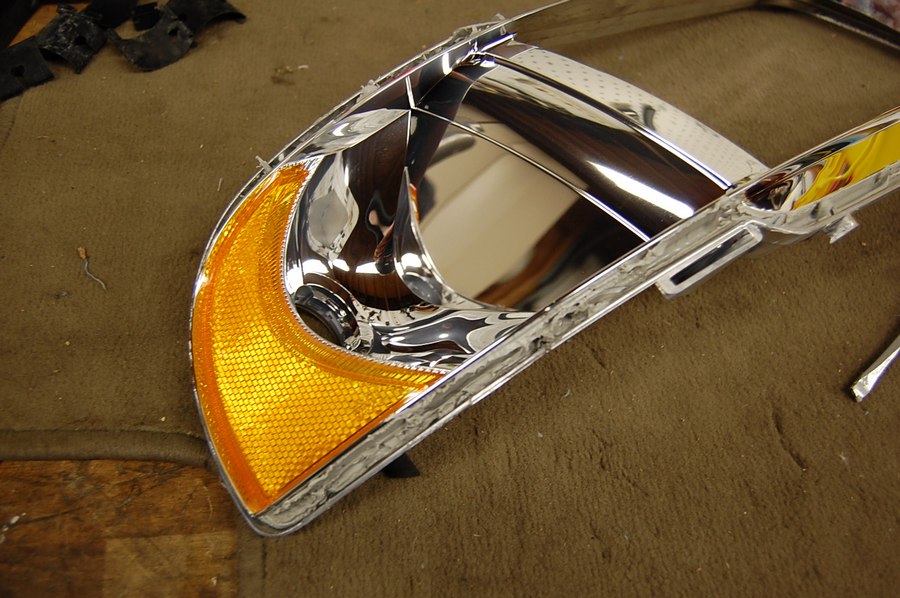
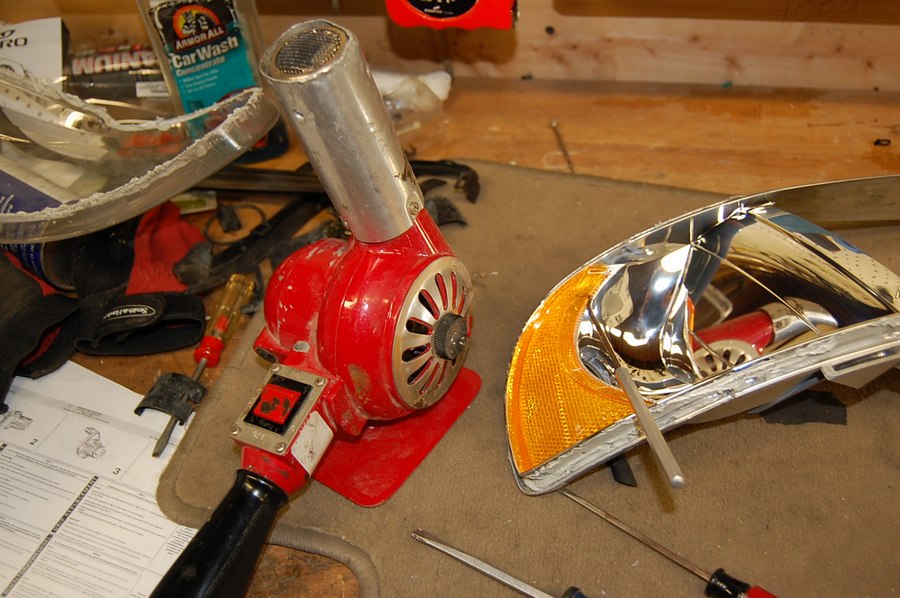
Now comes the tricky part. Once the lens is separated from the assembly, the plastic must be removed from the chrome backing. It is held in place by a few tabs visible on each end that interlock the two pieces, plus a non hardening compound that seals them together. Using a heat gun, heat the assembly, I did it at the lowest setting on my heat gun (which is still very hot) from the back side, not on the clear side. Heat it slowly and then once it has warmed up, start prying it apart.
Pry part of it apart, stick a plastic tire iron in it to keep it apart, and continue to warm it with the heat gun, and keep prying apart. It's messy and it will take some time. Be patient.
Use a trim stick or plastic tire irons to separate pieces.
Notice non hardening compound used to seal lens to chrome piece.
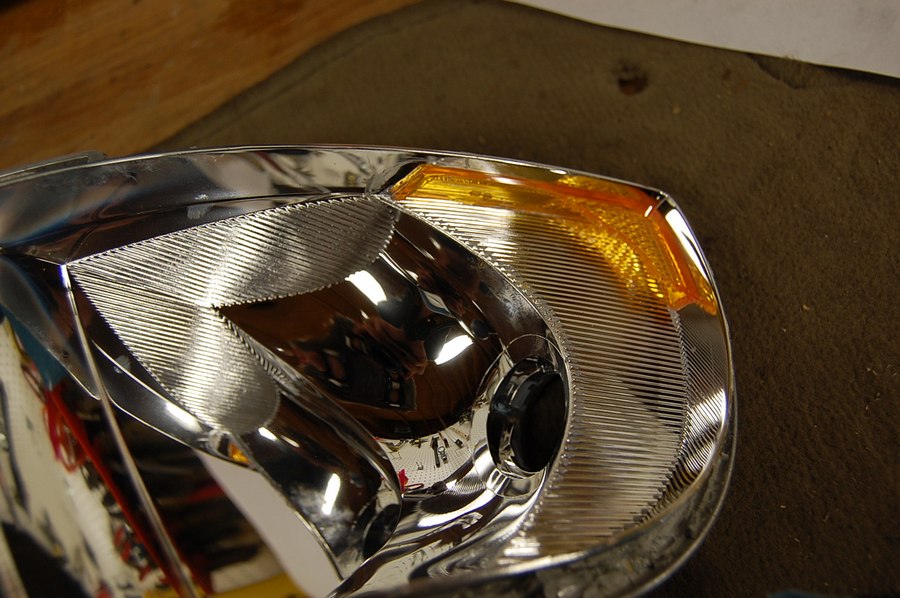
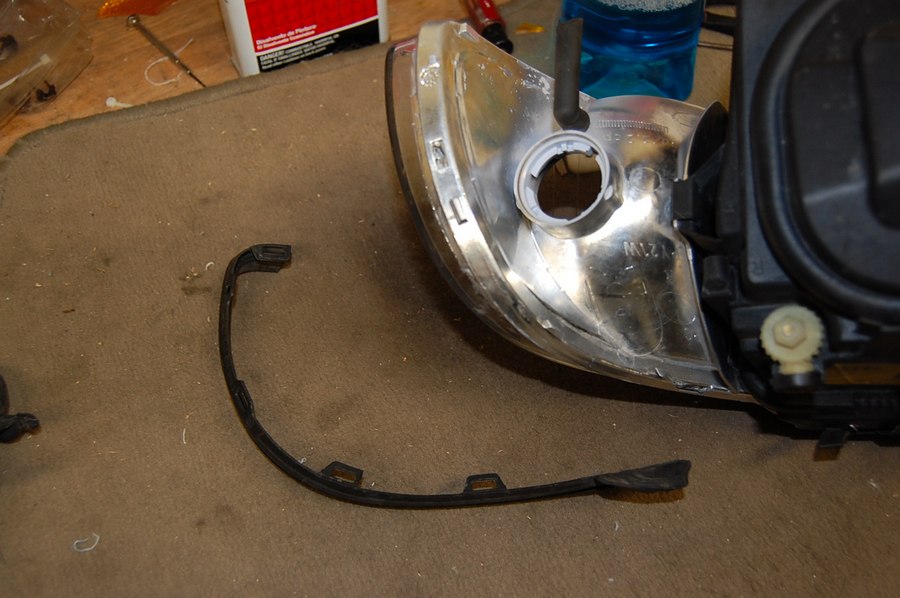
Once it's removed, heat the reflector up with the heat gun. It is glued on the edges of the reflector. Use some type of pick tool to start prying it out. Mine broke into a couple of pieces, before I got it all the way out.
Having paint thinner on hand allows you to clean your tools and clean up any of the gasket sealer stuff.
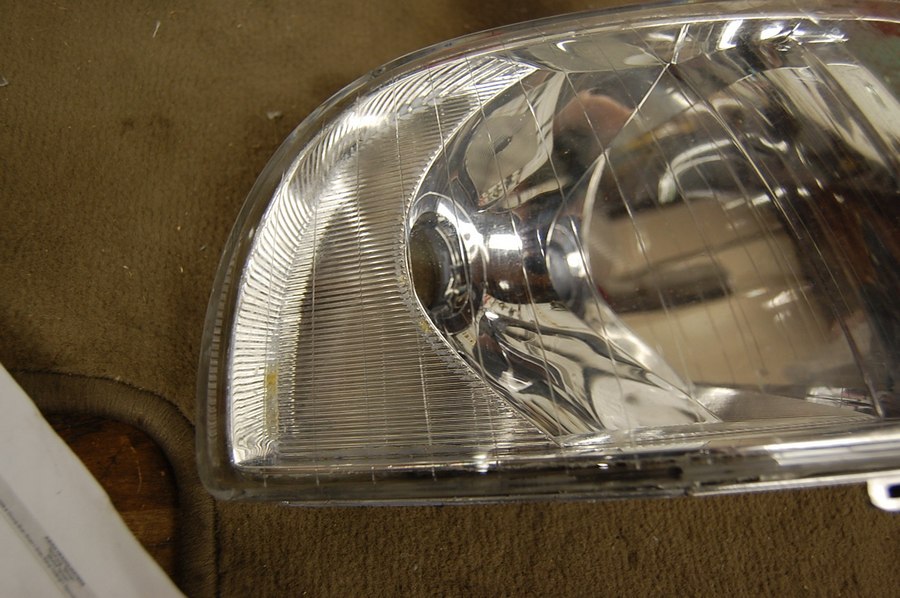
Once you get all the pieces out, clean the lens. Make sure you have a microfiber cloth on hand for this....the chrome is easily scratched. Clean it very well. Put the lens back in place by sandwiching the curved section first (outboard) to the inboard side.
Snap all the clips back in place and install the rubber parts. Pictures below.
Installation is reverse of removal....install clear bulbs if desired at this time.
Use a capturing Phillips head screw driver to put bottom headlight screws back in.