Yeah, I know, it's a little thing, but it beats having a garage door opener in the ashtray. Plus, it opens up that space for the installation of an XM radio, which I intend to do.
This solution is a little simpler/less elegant, in that it doesn't wire the opener into the car +12 VDC, and it doesn't use a switch base, just crimp-on spade lugs, for the new switch. For instrument lighting power, insulation-displacement style power connectors are used (the crimp on connectors used by stereo installation shops). These connectors provide a quick, reliable connection for the switch lighting.
The most difficult part (which isn't very difficult) of the whole project is desoldering the switch from the garage door opener printed circuit board (PCB) and soldering wires for leads to the dash switch back on to it.
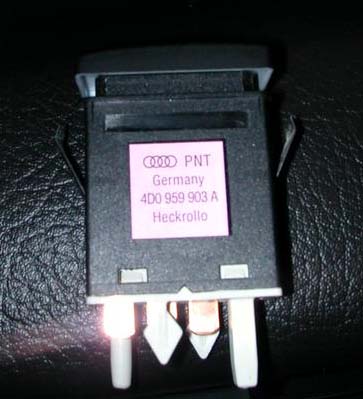
Obtain a sunshade switch from the dealer, part number 4D0 959 903 A. It will be referred to as the "garage door switch" for the remainder of this procedure.
Obtain a sunshade switch from the dealer, part number 4D0 959 903 A.
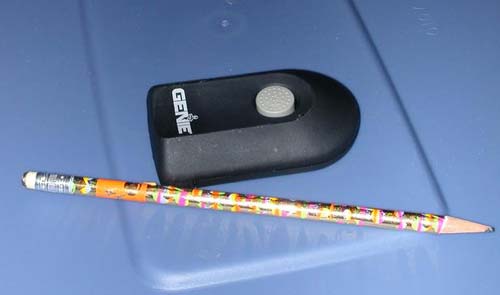
I was unable to find a mini-opener like Ed's; the small ones I found only worked with newer post-'97 ("Intellicode II" in the fine print) door openers. Not a problem, as there was plenty of space inside the dash. Here's the medium-sized model used:
Genie garage door opener used for installation.
Pencil not included.
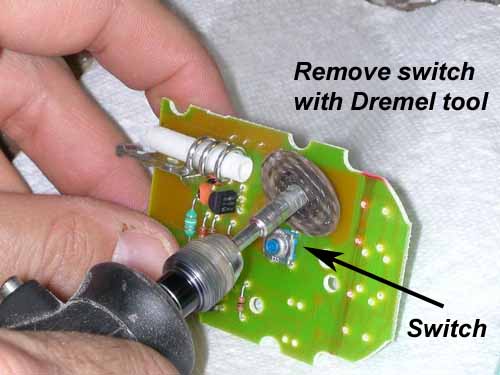
Open up the case and remove the switch button from the printed circuit board with a Dremel and cutoff wheel.
Remove the switch with cutoff wheel.
It will have two electrical connections to the board.
To remove the remainder of the switch legs from the board, apply heat with a soldering iron from the back. When the solder melts, use a small pair of needle-nosed pliers and pull the remainder of the switch feet from board (from front side). You'll need either a hobby vise or a third hand to do this; I utilized an available 16-year-old, not having a small hobby vise.
Strip and tin two 18 gage wire leads. Solder them into the switch holes on the PCB.
Solder 18 gage wires into the switch holes.
It is much easier if the wires are tinned before soldering.
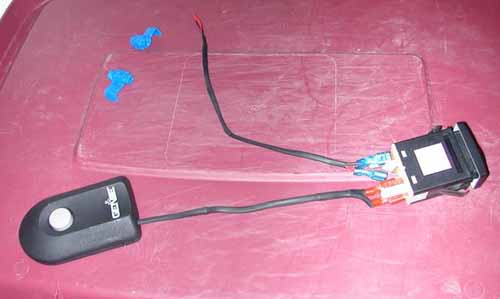
Add heat-shrink tubing to the outside of the leads, and add crimp-on spade connectors. Reassemble the garage door opener. Set aside.
For the instrument light power, make up another set of leads with wire, heat shrink, and crimp-on spade connectors on one end. Get a pair of insulation displacement tap connectors.
The ready-to-go-into-the-dash pieces look like this:
Switch and opener ready to be installed in the dash.
Remove the radio with a pair of the DIN tools. They're available from Pro.Fit International, and other suppliers. Instructions for use are with the tools; it's pretty straight forward. When ordering them, get a couple of those dash tools as well, you'll need them some day. Great for removing wood trim pieces to clean around the edges and polishing.
Use towels (combined with blue masking tape is best) to cushion the dash and lean the radio against the dash face, rather than disconnecting the radio. If you don't do this, you will most likely scratch the wood on the dash.
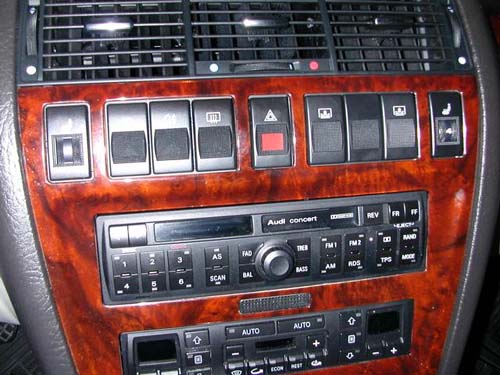
Next, pop out the switch blanks and the actual sunshade switch; mine was in the first position to the right of the emergency flasher button. You can use any dash switch to provide instrument light power to the new switch. All you're doing is jumpering light power from an existing switch to the new garage door switch.
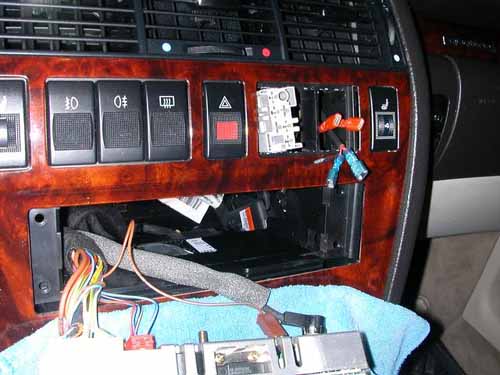
Work the sunshade switch connector out of the far right-hand hole in order to get enough slack out of the dash to connect to it. Attach the insulation-displacement tap connectors to the instrument light leads and the garage door switch jumper. Brown is ground, in position 2 on the switch/connector, and gray/blue in position 1 is instrument light power (at least on the '99).
Once connected, it looks like this:
Attaching the garage door lighting to the sunshade switch lighting wires.
Note towel used to prevent radio scratching dash.
Move the sunshade connector back to it's original position after hooking up wiring. Route the instrument power leads out of the blank position you will be using for the garage door opener switch.
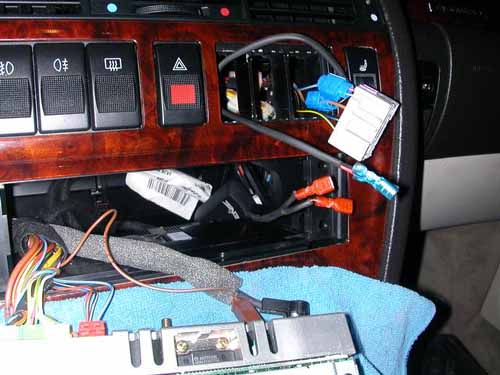
Next, bury the opener into the dash. Mine went into the space between the radio and the passenger-side vertical dash/console cover. Bring the the leads out of the switch blank opening you're going to use.
It will look something like this:
Wiring in place and ready for switch hook up.
The orange label visible through the radio hole, directly below the white sunshade connector, is on the back of the garage door opener.
Now is a good time to attach the switches but *don't* install yet. Re-install the sunshade switch to its base, leaving it hanging out of the dash. Install the power leads to positions 1 and 2 of the garage door switch. Polarity matters; 2 is ground and 1 is power. Install the opener leads to positions 5 and 6 of the garage door switch. It is not polarity sensitive.
Turn on the ignition, and verify the sunshade (or whatever switch you pulled instrument lighting power from) still works, and all the switches light properly when the lights are turned on. Check that the garage door opener works.
Install the switches into the dash along with any blanks. They just push in. Re-install the radio.